This 3D model project has been hard, difficult and a challenge. The time spent on working on the model just when so fast, one day I was working on my face the next day I was making the back of the head.
There was time where the model was no going right or that the tutorial videos we was following skipped parts out, but I overcome these problems by using my knowledge to get around these problems. My main problem was that I had to many strict reference lines then I would wanted and with more reference lines meant more polygons to play around with to make the head look like mine. Which will be something I look out for next time am making a 3D model.
Apart from a bit of problem I am happy with the final outcome of the model, because I spent a lot of time playing around with different tools, techniques and modifiers and pick up a lot of new techniques to be used in my next models. It was my fist time using the hair and far modifier but I like the outcome of the hair the way it blends in with the flat material hair and it looks like my hair when I have just dried it. I am most happy with the materials, in particular the texture of the skin and the likeness of the features to my own head.
Virtual Environments
Wednesday, 20 October 2010
Tuesday, 19 October 2010
Sunday, 17 October 2010
Modelling My Face Step 11 & 12

Saturday, 16 October 2010
Modelling My Face Step 10
Wednesday, 13 October 2010
Modelling My Face Step 9
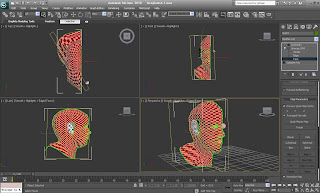
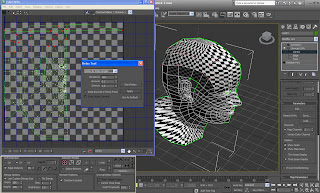
Applying a checker material to the model displays clearly how quadrants will be treated once the skin is applied. Areas that are too stretched needed working on.
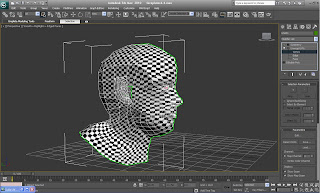
I used the UVW Unwrap tool to take the quadrants of the head and lay them out flat so segments of the original photo to be cut out and repositioned on a flat map. Some areas of the map needed to be altered as they were cluttered or overlapping. So I used the relaxed tool to move them in suitable positions.
Monday, 11 October 2010
Modelling My Face Step 8
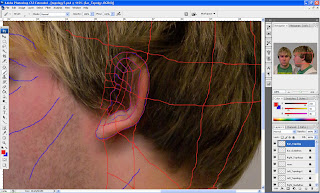
For modelling the ear I had a problem and that was my hair in the photo had covered half of my ear. I could not make out parts for the ear so I had to guess where my ear was.
I modelled the ear by using similar techniques to the face. Drawing the topography in Photoshop then creating quadrants in 3dsMax which were then repositioned.
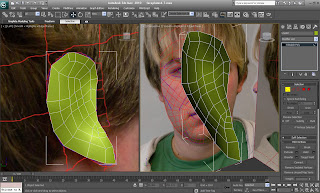
For the ear canal, I used the Chamfer tool which created a ring of edges that could then be pushed in to create a void.
Sunday, 10 October 2010
Modelling My Face Step 7
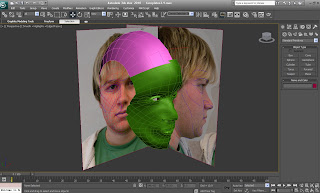
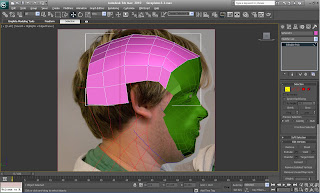
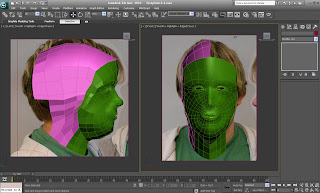
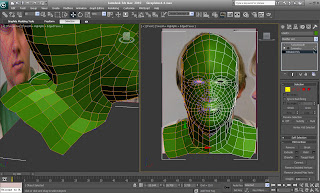
I now have created the face, the back of the head, the neck and part of the shoulders are next.Starting with a sphere, I got rid of redundant polygons and extruded edges to form the shape of the back of the head. It was a daunting task for me because I accidentally got rid of the back parts of the polygons that I need but did not notice that I got rid of them so I had made my own polygons.
I attached the head to the face I had already created but none of the vertices were joined up. So I had to individually weld the vertices together.
Thursday, 7 October 2010
Tuesday, 5 October 2010
Monday, 4 October 2010
Saturday, 2 October 2010
Modelling My Face Step 4 Part 2
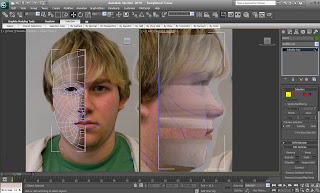
I then selected all the vertexes running down the middle of my face and made sure they all line up in the x planar so that it will be easier when it comes to symmetry.
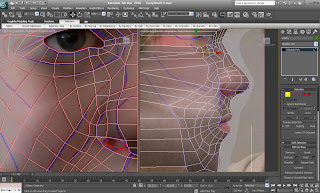
Thursday, 30 September 2010
Modelling My Face Step 4 Part 1
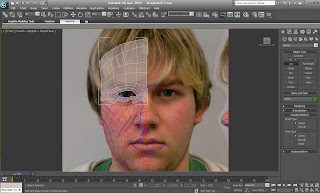
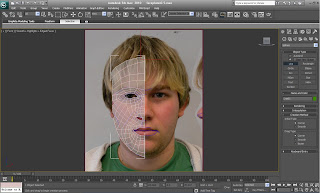
To create the mesh I used the line tool and made sure both settings were on creation method where selected corner. I also added the magnet tool to snap all the lines together to make and closed all line in to polygons.Sometimes the lines would not let me click where I wanted to so I had to edit the thickness of the vertex.
Monday, 27 September 2010
Friday, 24 September 2010
Modelling My Face Steps 2
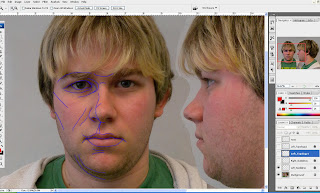
I then added blue lines in the protrusions and creases of my face as guidelines of contours and to give an idea of depth in the image and to indicate features.
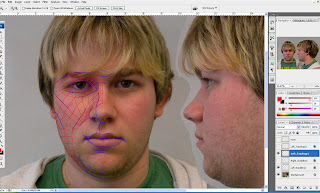
Next I divided the image into polygons using red lines to represent the topology of the face and will serve as location indicators for the individual facets of the 3D model.
Subscribe to:
Posts (Atom)


